Build a Bird Feeder

Winter can be a tough time of the year for wild birds because natural food sources such as insects and berries are scarce. Birds need lots of energy-rich food to maintain fat reserves, which help them maintain their body temperatures when outdoor temperatures drop.
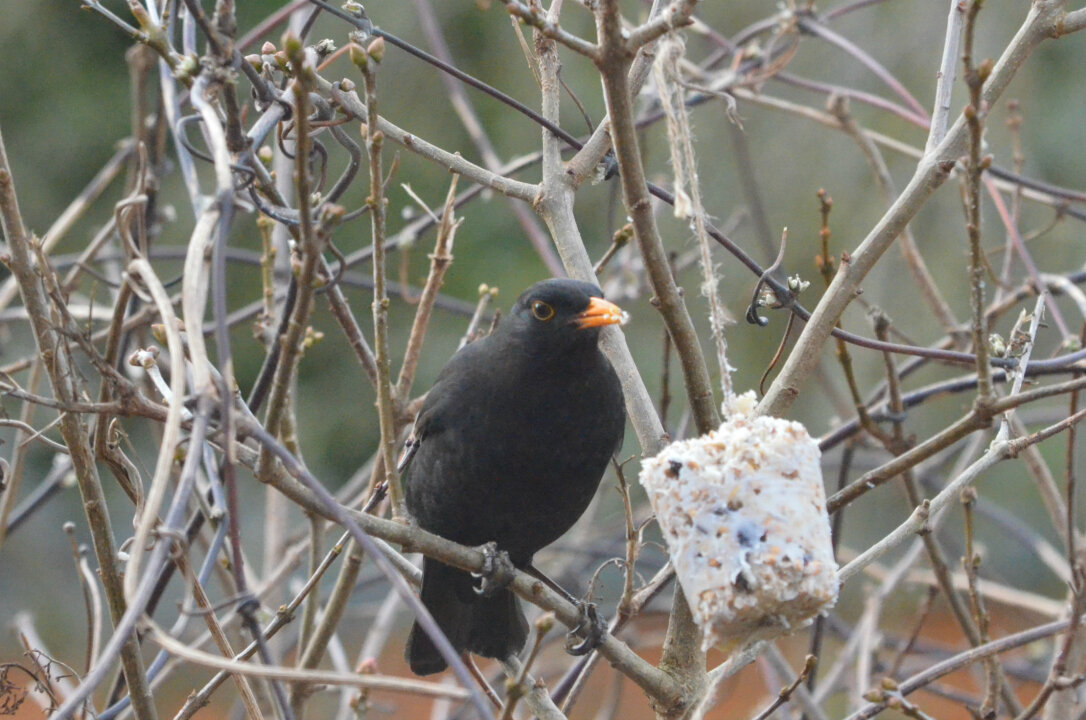
Providing a winter food source for birds is not only a great way to help your local wildlife, but it is also an excellent opportunity to observe our feathered friends from your home. Use this activity to build your own bird feeder.
Tools
Wet Ingredient: Lard, suet, or solid vegetable oil, warmed and melted (be sure to have an adult help with this part)
Dry Ingredients: a mix of wild bird seeds, oats, breadcrumbs, dry or fresh currants, dry or fresh sultanas, and/or unsalted peanuts. Whatever combination you have on hand.
Clean paper cups, muffin pans, doughnuts, or cookie cutters
String
Spoon
Steps
Step 1: The ratio for this recipe is one part wet to two parts dry mixture. Mix dry ingredients together in a bowl.
Step 2: Under adult supervision, carefully melt the wet ingredient and then mix with the dry ingredients. Once everything is mixed to your liking, let the mixture cool.
Step 3: Create and fill your bird feeder mold. Refer to the images above if you need help.
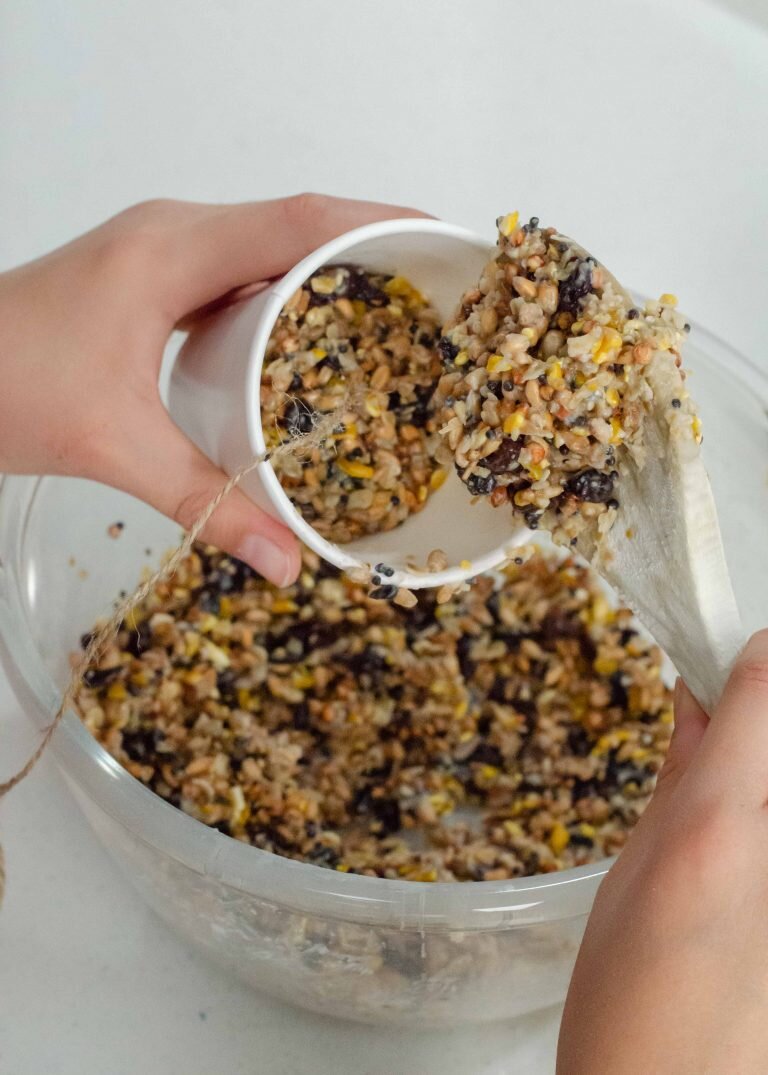
If you use a paper cup mold, poke two holes in the bottom and run a piece of string through both holes and back up through the center. If you hold the cup upside down it should look like a bell with the string hanging towards the ground. Use a spoon to scoop your mixture into the cup and pack it down tightly. Try to keep the string in the middle of the feeder.
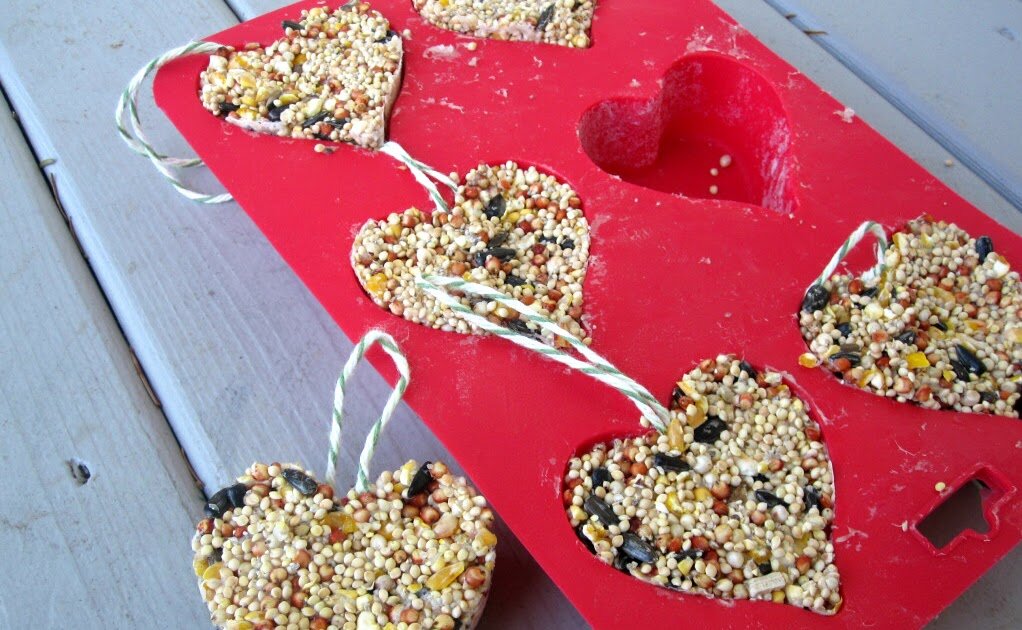
If you use a muffin or donut pan, spoon in a layer of the mixture in the container, then lay the string down lengthwise and add more mixture on top.
If you choose cookie cutters, spoon in your mixture until full, then make a hole anywhere on the cookie so you can put your string on later.
Step 4: When you are done preparing your feeder, place it in the refrigerator overnight to set.
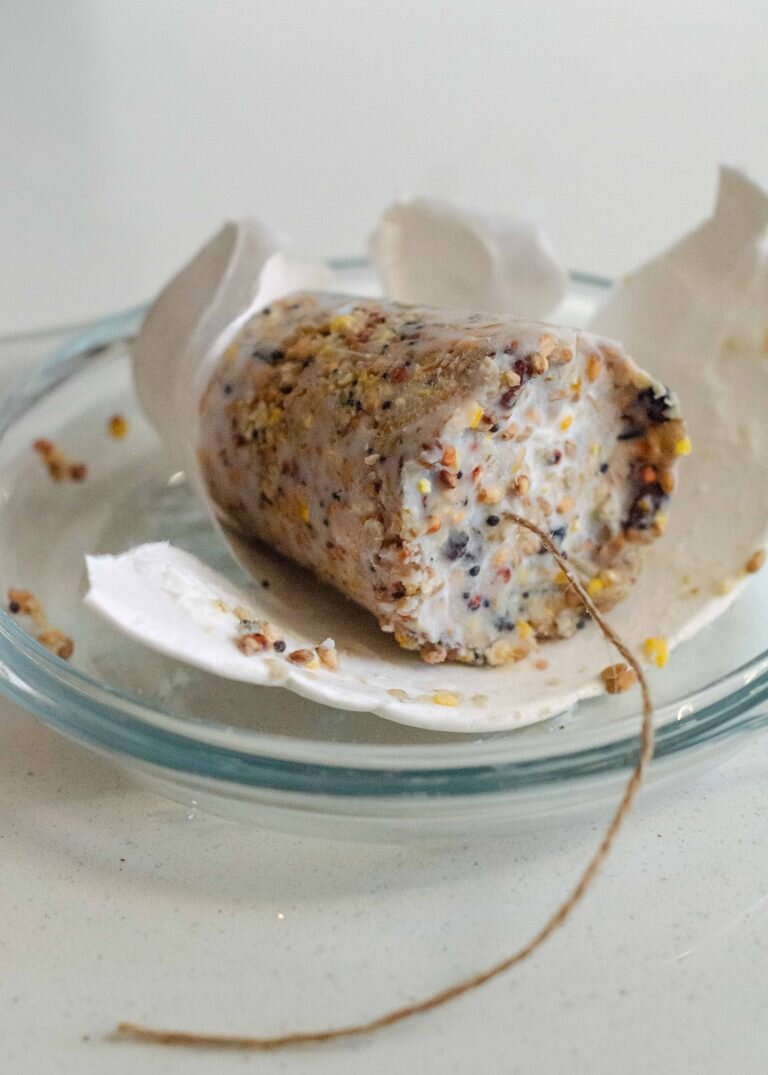
Step 5: Once the mixture of wet and dry ingredients is set, you need to remove it from the mold. This can be somewhat challenging, so ask an adult for help. And then hang your new feeder outside. Do not forget to share pictures of your feeders and the visitors.
To Do or Learn More:
Explore other options for your own DIY bird feeders. For example, if you don’t have any wet ingredients, use an egg carton, string, and birdseed to make your bird feeder. Or explore 15 other homemade bird feeder ideas to inspire you!
Do this winter science activity — identify common backyard birds in your area using the Bird from Home activity. Possibly even discover which foods they prefer!
Read up on some of the local birds you might find at your new feeder with these recent award-winning books: Birding from Your Backyard, Crow Smarts, and Owling: Enter the World of the Mysterious Birds of the Night.
Sign up for Project FeederWatch, a citizen science project all about winter birdwatching.