Picture Perfect
Is a picture really worth a thousand words? Digital cameras and smartphones make it easier than ever to photograph every minute or moment of our lives. Each image can transport the viewer to a different place and time.
From professionals to amateur photographers, everyone can express themselves through images. Let’s master the basics of digital photography and tell your story!
Tools
Digital Photo Mentor’s 25 Famous Photographers in History
National Geographic’s Image Collection or Instagram Collection
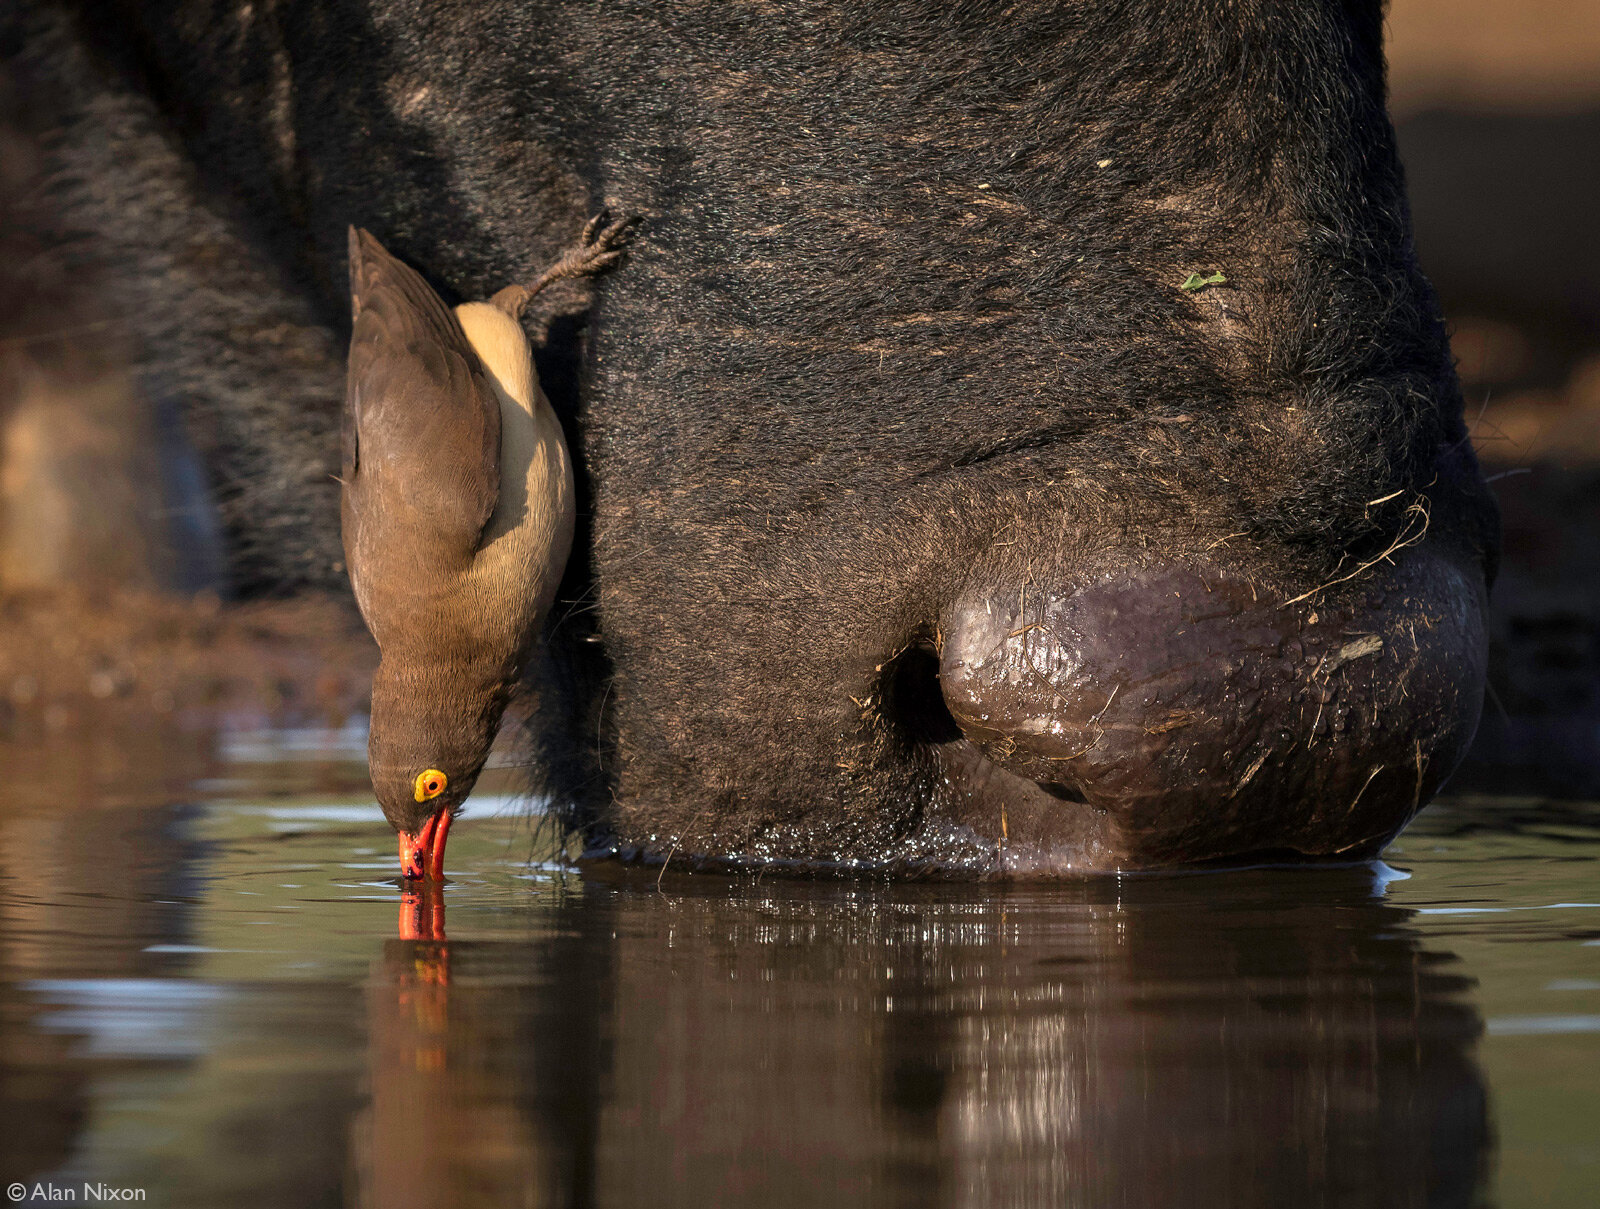
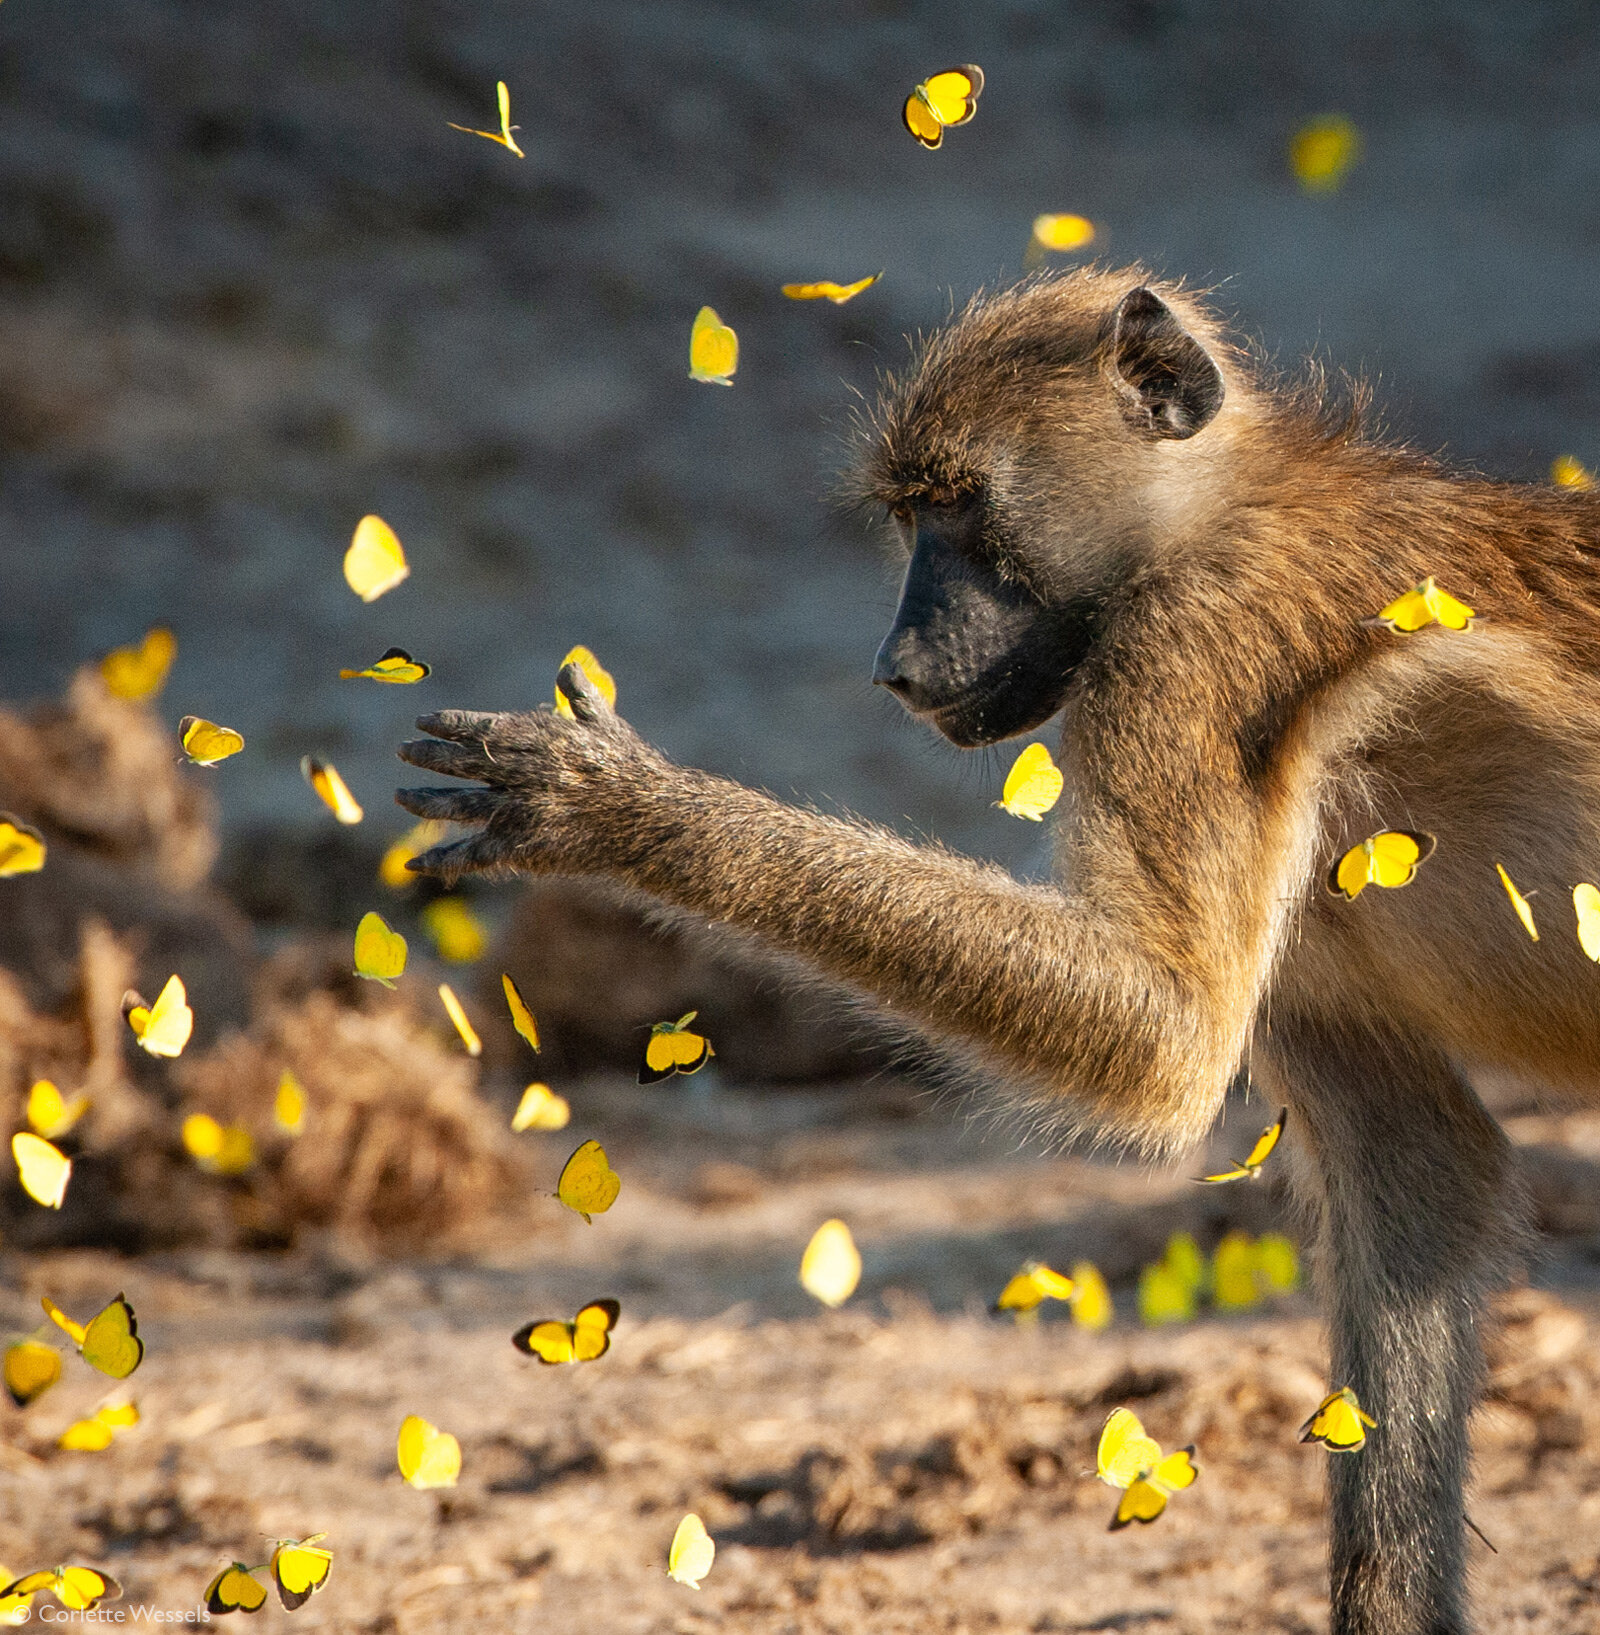
Africa Geographic’s Photographers of the Year 2020 Winners
Digital Camera (cellphone or camera)
Computer (optional)
Notebook and writing utensil (optional)
Steps
Step 1: Look through the photos and portfolios in the tools section above. When looking at the images, what do you think makes them visually strong and appealing? What moment or emotion did the photographer try to capture?
Step 2: Select your favorite photo from the photos reviewed in Step 1 or a different photo of your choice and reflect on that image. If possible, write your thoughts out and/or discuss them with a friend or family member. Why is this photo so appealing to you? What techniques did the photographer use to convey emotions, ideas, or information? Describe a bit more about the use of color, angles, and magnification or focus in the image.
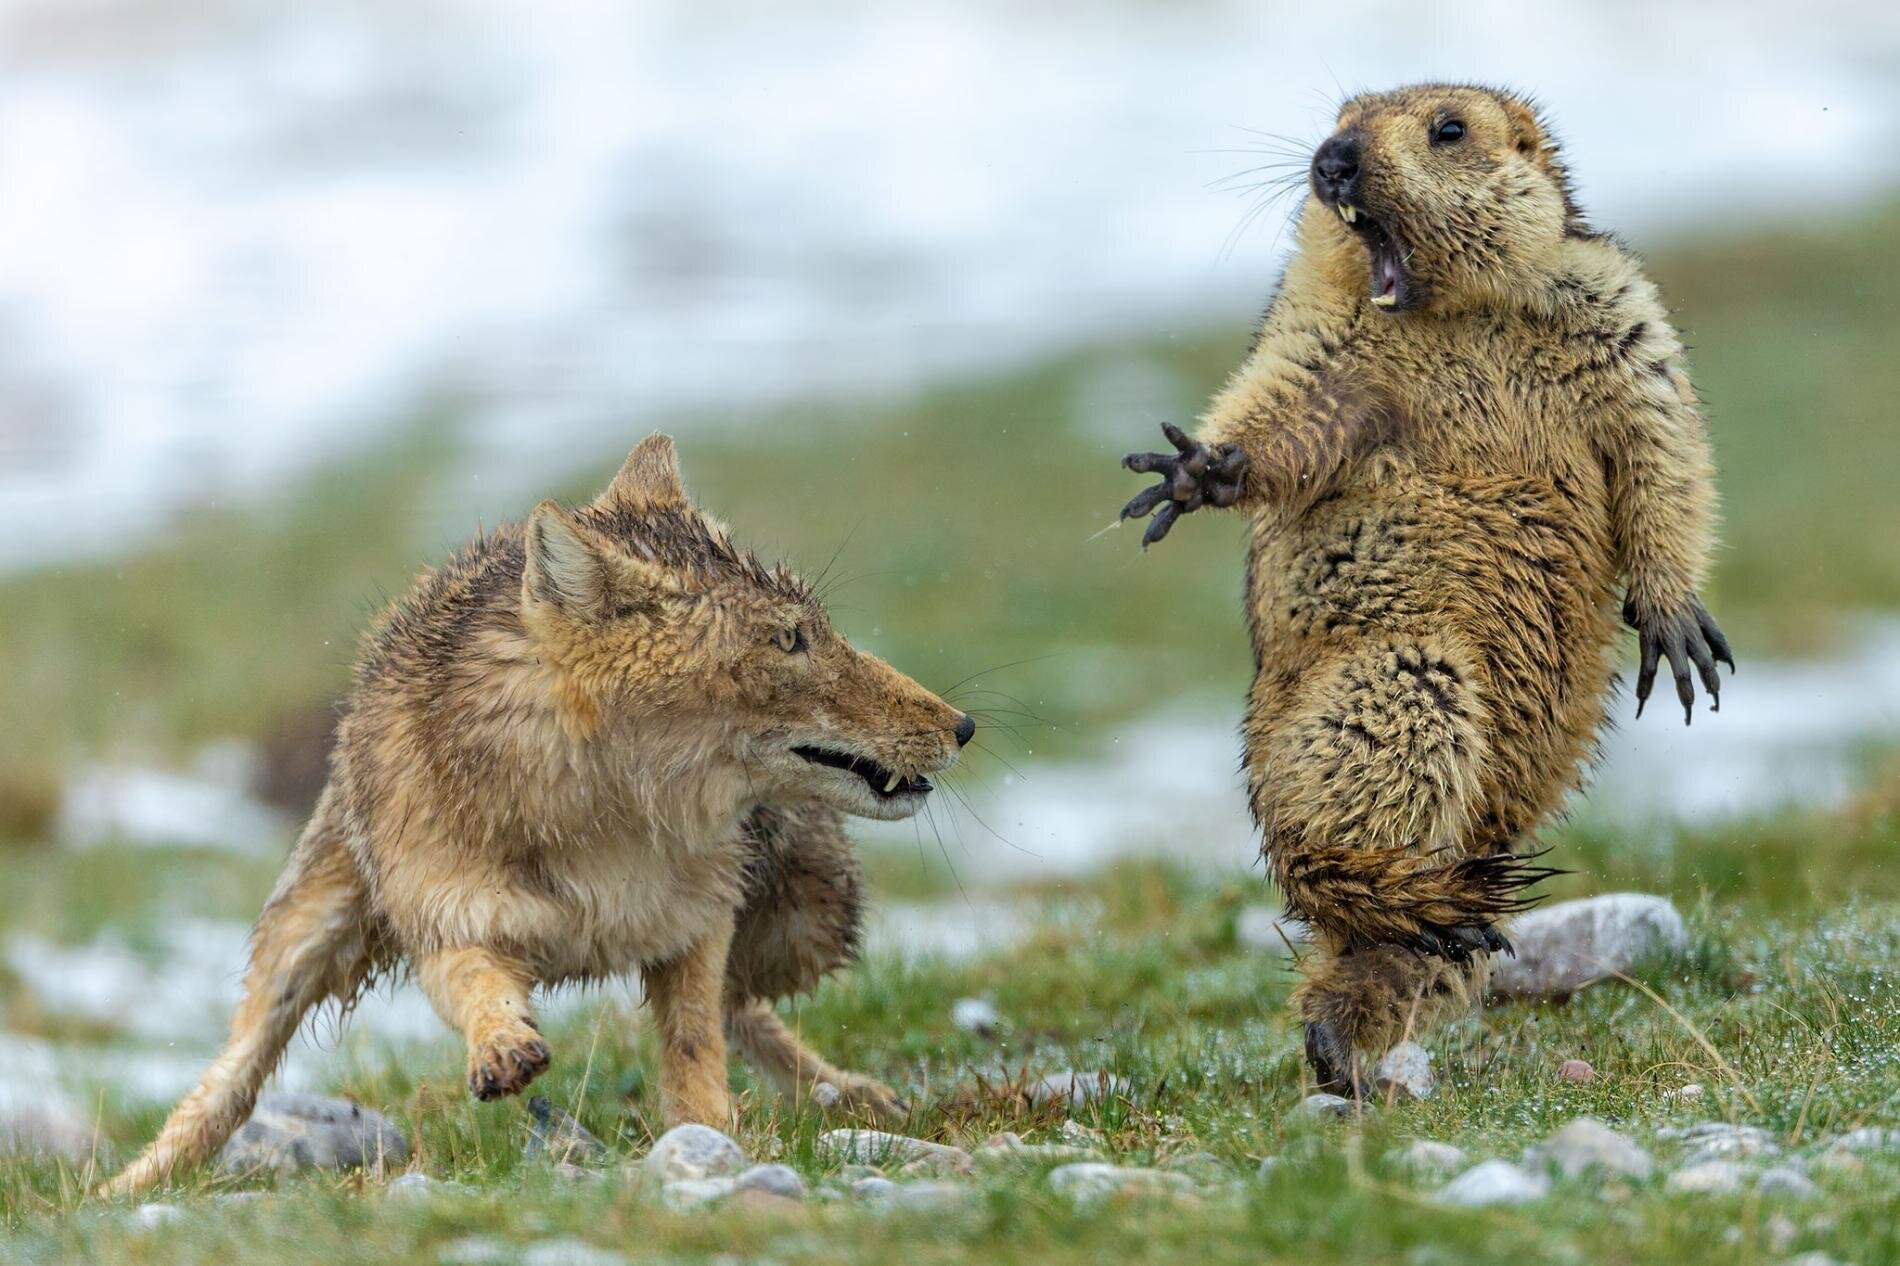
For example, let’s examine the photograph from above, “The Moment: A Tibetan fox and a marmot.” As a note, this image won the Natural History Museum of London’s 2019 Wildlife Photographer of the Year. How would you describe the marmot's reaction? What about the fox? Is the focus of this image on the landscape of the Tibetan mountains or is it centered on the animals? A sample reflection could be:
This image is both funny and terrifying. The surprised expression and open-armed posture of the marmot hold you captivated, while the snarl of the fox shows the power and sneakiness of the fox’s surprise attack. Additionally, the blurred background allows the focus solely on the two animals. We are even able to see droplets of water coming off both the fox’s face and the marmot’s body from the morning dew. Overall, it seems that the author wanted to capture nature’s ultimate challenge, the battle for survival.
Step 3: Just as you learned about the photos from Step 1 and Step 2, there was a story behind each image. Prior to actually taking the photos, it is important to plan the photo shoot. For example, if you wanted to do a pet portrait, you might plan your photo shoot around a spot in your house that would capture your pet’s personality, perhaps it is a window where your pet soaks up the sun or is it their food dish because they love to eat.
Step 4: Once you have selected your photo shoot area, grab your camera and get to work! Take as many photos as you feel are necessary to capture the moment, animal, event, project, etc. Do not forget the basic photography techniques such as the point of view or subject you are capturing, framing and angles, and lighting and colors. For reference, it took the photographer several hours before he captured the moment between the fox and marmot!
Step 5: Review your work, either preview the images on your camera or upload them to a computer to view. Did you capture the moment you were hoping for? Review Step 2’s reflection questions to assess your photographs. Are there any changes you could or would want to make to make to improve them? If you have time, ask someone in your family or a friend to review your photos and see what they think about the images.
Step 6: Practice makes perfect. Continue to refine your photography skills by taking more photographs wherever you might be. Be sure to review those photos, again and again, to make them better! Why not keep a digital scrapbook throughout the year?
To Do or Learn More:
Don’t let your talent go to waste and submit a few of your photos to the top and reputable photography companies.
Use the Spot that Species activity to find creatures around your house or backyard and inspire your photo shoot.
Want to learn and see other amazing photographs? Check out these award-winning AAAS/Subaru Book Prize books: Owling, The Skull in the Rock!, The Octopus Scientists, The Hive Detectives, and The Case of the Vanishing Golden Frogs.